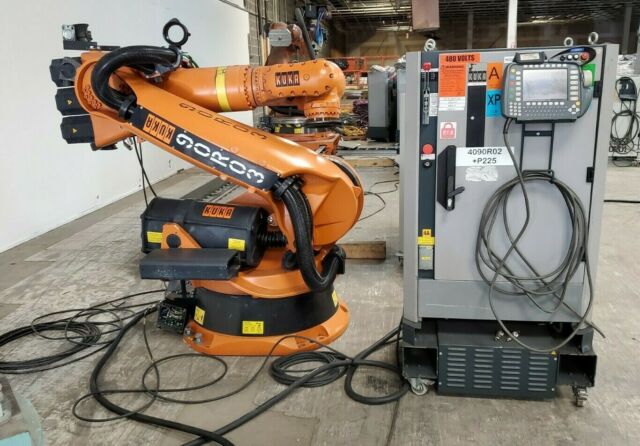
Despite their age, the used KUKA robots of the KRC2 generation are very popular. This generation of robots is admittedly relatively cheap and durable, but the first start-up can be quite problematic in some situations, especially when we do not have any experience in this matter.
When purchasing a complete set (robot + control cabinet), starting-up is usually trouble-free. The problems start when we have a set of periphery that did not work together. In this article, we will try to guide you through the complete robot configuration needed for starting-up.
Before starting the connection of the robot with the control cabinet, check the completeness of both devices.
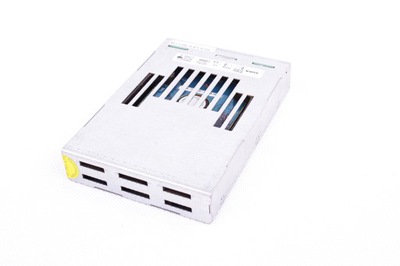
The main elements that we should check are:
- motherboard (control cabinet),
- DSE card (control cabinet),
- graphics card (control cabinet),
- min. 6 inverters (control cabinet),
- KPS (control cabinet),
- RDW card (robot).
Connections
When all of the above peripherals have been checked, we can start connecting the robot with the control cabinet. For this purpose it is necessary to connect the x20 / x30 (robot power supply) and x21 / x31 (encoders) cables. In addition to the above connections, the robot’s control cabinet has several safety plugs. The main one is the x11 plug. All connections responsible for safety must be made, because even during the testing phase, a dangerous situation may occur. If the safety plugs are not connected, the robot will not allow the interpreter to be turned on, which will prevent the robot from being moved.
Robot data
After making all the necessary connections and starting up the control cabinet, there are usually a lot of errors. The main error is usually the problem of inconsistent data from the drive to the encoder, its solution is to rewrite the data from the drive to the encoder or from the encoder to the drive (depending on which component has the correct data). The selection of correct data consists in logging in as an expert (configuration -> user group -> log in). Then enter the password (The default password is KUKA). Next we go to the robot data tab (run -> robot data). At this point, KRC will ask us which subassembly has the correct data.
When we connect a robot with a control cabinet that worked with another robot, appropriate machine data (also called MADA) should be uploaded to the hard drive. Each KRC2 drive has a file with machine data for each robot model of this generation, these files are on the D drive. The robot’s nameplate contains the full path to the file with machine data on which the robot should work. Pay special attention not to confuse the machine data of the robot working on the ground (floor) with the data of the suspended robot (ceiling). When we find the correct data file, copy it and then replace it with the data in the MADA and STEU folders. Perform a reset after completing the above steps.
Robot adjustment
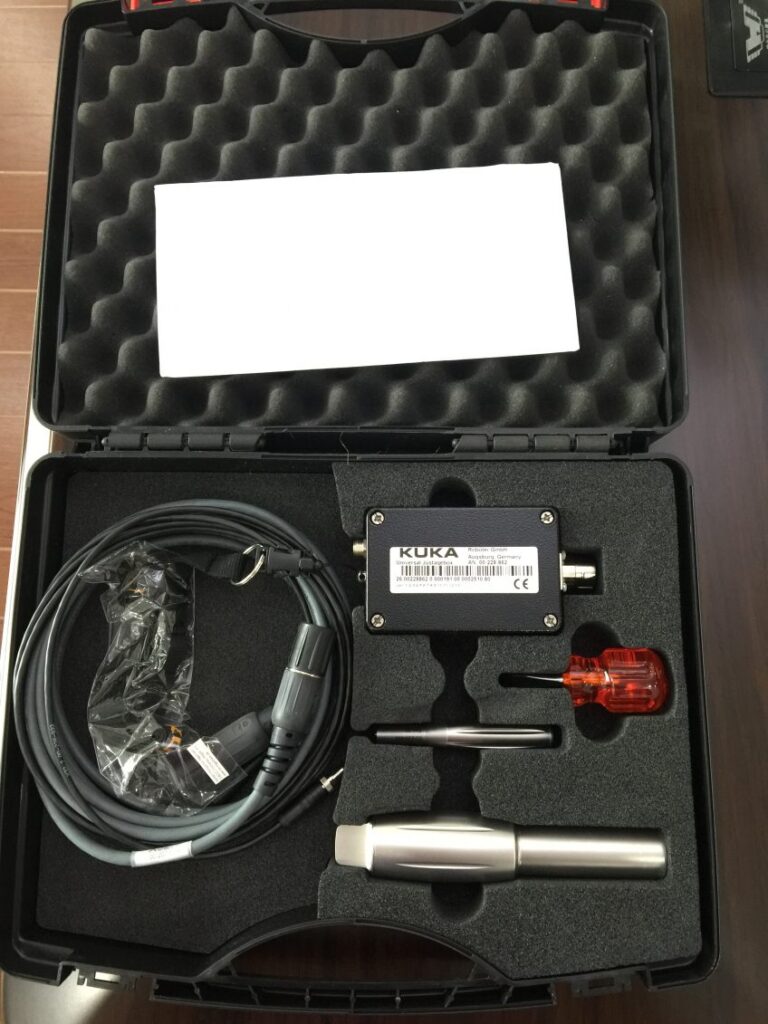
Another problem is the issue of adjusting the axis of the robot. You have to use a dial indicator or an EMT device. The regulation tab can be run by running -> regulate -> clock / EMT.
In the case of choosing EMT, the robot will adjust automatically. It’s enough to get it to the base positions (each axis has 2 white lines, which indicate the base position when they coincide), and then start the adjustment of the given axis by pressing the Adjust button.
The situation is similar when we want to make adjustments via the dial indicator, but in this case we have to manually find the position where the clock deflection is the greatest and at this point click the Adjust button.
After performing the above steps, the robot should start moving.
Safety robots
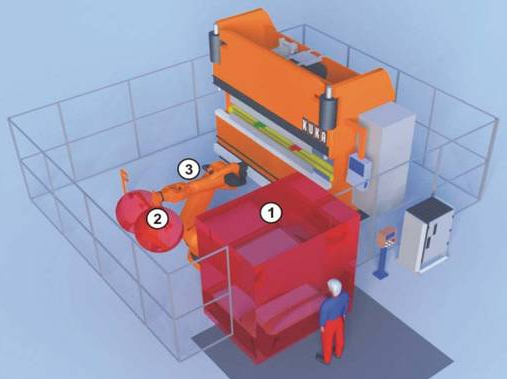
The situation may turn out to be much more complicated in the case of safety robots. Kuka safe operation is an advanced system that monitors the safety of the robot’s work, it has enormous possibilities, but if we do not want to use them, it can cause some problems. Safety robots have other components that require additional connections and external devices (e.g. a reference sensor).
By starting-up such a robot, we can modify it to a “normal” robot or run it in the safety mode. When choosing the first option, replace the safe RDW card with a regular RDW card, put a jumper on the X13 plug and uninstall the KUKA Safe Operation package.

The safety mode is quite specific and running the robot in this mode requires a lot of knowledge and experience, so people without experience in this subject should not deal with it. In this article, I will not touch on this issue as it is a topic for a whole separate article. However, it is possible to disable some of the safety options, such an option may be useful when we want to disable the safety function, but we do not have an RDW card. To disable it, log in as a secure boot technician (password is the same as for expert), and then go to the security menu (run -> safe operation -> configuration).
The safety menu will most likely start in English, at this point we can disable or modify some of the safety functions (e.g. axle speed monitoring, acceleration monitoring, safe zone monitoring). Even if we turn off all safety options, connect the jumper in place of the X13 plug, without it the robot will not start.
Summary
It is very satisfying to start the robot on its own, however, in some cases it may take a long time. When you run into any problems, we recommend the forum, where you will find a lot of material that may be helpful. Regardless of whether the running robot will be safety or not, special care should be taken when testing the movements of robots.